Kokedama: A Beginner’s Guide to Moss Ball Planting
Kokedama, the Japanese art of moss ball planting, is a beautiful and minimalist way to bring greenery into your home. This guide will help beginners create and care for their own kokedama, transforming indoor spaces with these unique, floating gardens.
What is Kokedama?
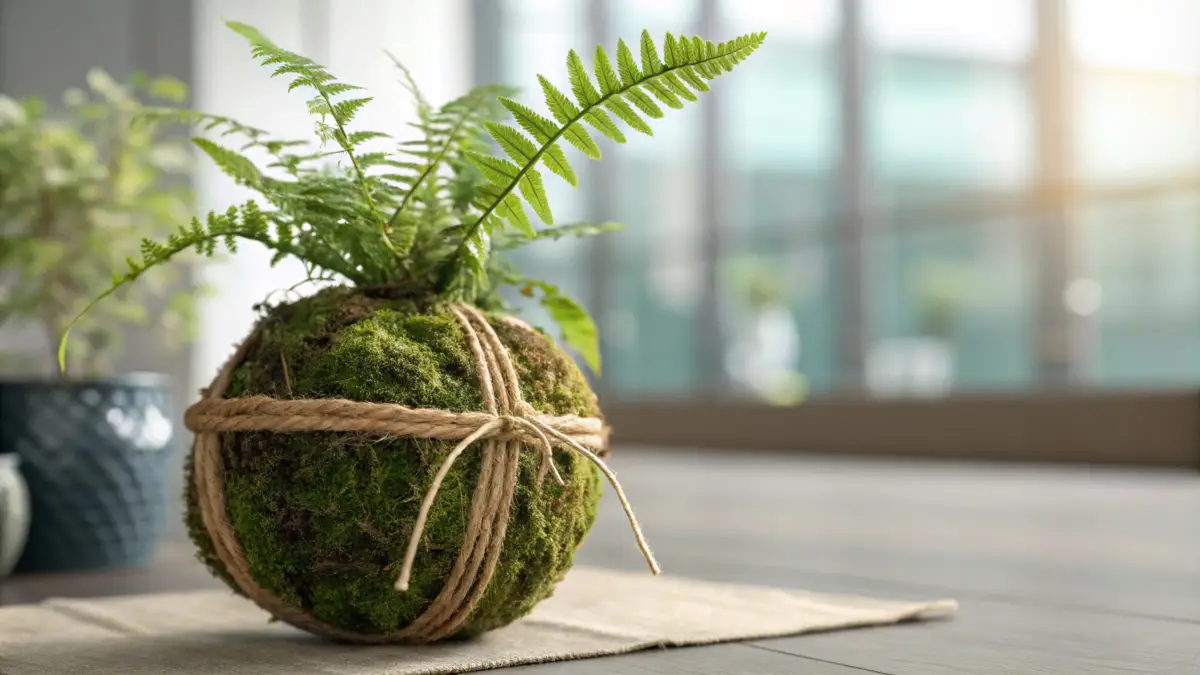
Kokedama, meaning "moss ball" in Japanese, is a method of planting where the roots of a plant are wrapped in a ball of soil, which is then covered with moss and secured with string or twine. This technique is part of the bonsai tradition and offers a creative and low-maintenance way to grow plants indoors.
Materials Needed
Tools
- Scissors
- Bowls or buckets
- Measuring cup
- Spray bottle
Materials
- Bonsai soil or clay-based soil
- Peat moss or coconut coir
- Sphagnum moss or sheet moss
- String, twine, or fishing line
- Water
- A plant (e.g., ferns, pothos, philodendron)
Step-by-Step Guide
1. Prepare the Soil Mixture
Mix equal parts of bonsai soil and peat moss (or coconut coir) in a bowl. Add water gradually until the mixture holds together but is not soggy. The ideal consistency is similar to dough, firm enough to form a ball but not too dense.
2. Form the Soil Ball
Take about two cups of the soil mixture and mold it into a ball, roughly the size of a grapefruit. If the soil falls apart, add more water drop by drop and press firmly until it stays intact. Ensure the ball holds together when thrown gently in the air.
3. Prepare the Plant
Remove the plant from its pot and gently shake off excess soil from the roots. If the roots are long, trim them slightly to make them easier to fit into the soil ball. This step is crucial as it ensures the roots can easily adapt to their new environment.
4. Insert the Plant into the Soil Ball
Make a small hole in the soil ball with your fingers, just large enough to nestle the plant’s roots. Carefully place the roots into the hole and compact the soil around the plant’s base to secure it. Spritz with water to keep the soil moist while working.
5. Wrap with Moss
Soak the sphagnum moss in water until damp. Place the moss on a flat surface and set the soil ball on top. Wrap the moss around the soil ball, covering it completely. Secure the moss with string or fishing line, wrapping it around the ball several times to ensure it stays in place.
6. Displaying Your Kokedama
You can hang your kokedama using additional string or display it in a shallow dish or clear container. Hanging kokedama can create a floating garden effect, while a dish display allows it to be a centerpiece on a table or shelf.
Care Tips
Watering
- Check the moisture level by touching the moss. If it feels dry, submerge the kokedama in water until it stops bubbling.
- Watering frequency depends on the plant type and environment, generally once a week for most indoor plants.
Light and Humidity
- Place your kokedama in a location with indirect sunlight. Too much direct sunlight can dry out the moss and soil.
- Increase humidity by misting the moss regularly, especially in dry indoor environments.
Pruning
- Trim any dead or yellowing leaves to maintain the plant’s health and appearance.
- Regular pruning helps to keep the plant manageable and encourages new growth.
Best Plants for Kokedama
- Ferns: Ideal for their love of moisture and shade.
- Pothos: Hardy and easy to care for, perfect for beginners.
- Philodendron: Another beginner-friendly plant that thrives in low light.
- Asparagus fern: Adds a delicate and lush look to your kokedama.
By following these steps and tips, you can create and care for your own kokedama, adding a unique and natural element to your indoor decor. Enjoy the meditative process of crafting these beautiful moss balls and watch your plants thrive in their new, artistic homes.